


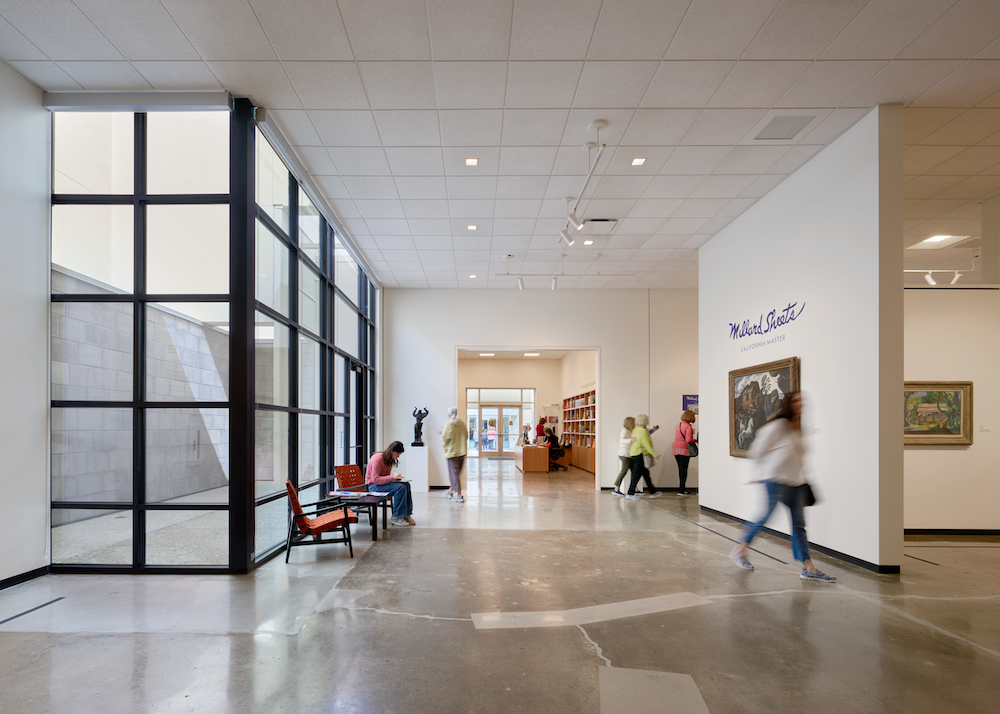
Millard Sheets mural gets new life at Hilbert Museum of California Art
It’s been a long journey to restore, relocate and re-install a historic mosaic tile mural at the Hilbert Museum of California Art, located at Chapman University in Orange, Calif. This project took several years, numerous organizations and talented individuals – not all from the building industry – to make happen. First let’s begin by taking a look at the history of the historic mural.
Millard Sheets – the designer
In 1953, native, acclaimed California artist Millard Sheets founded the Millard Sheets Designs Company. The design studio completed several major architectural projects throughout the late 1950s through the mid-1970s, including projects for Howard Ahmanson Sr., Ahmanson Bank and Trust Company in Beverly Hills, and many Home Savings and Loan Association buildings, among many other projects.
Howard Ahmanson Sr. – the banker
In 1947, Ahmanson bought Home Savings & Loan Association, which provided financial backing for the California housing boom that resulted after World War II. Howard contracted with Sheets to provide iconic artwork to attract customers; within three weeks, the cost of the elaborate mosaics had been paid in new deposits, beginning a history of banking, public-art sponsorship, and public history in southern California.
Mark and Janet Hilbert – art collectors/philanthropists
Among the world’s most prolific collectors and exhibitors of California art, Mark and Janet Hilbert pledged an initial $10 million gift to Chapman University to establish the Hilbert Museum of California Art and have made successive donations to fund a major expansion.
“Building the Museum here at Chapman University is the perfect union of synergies,” Mark explained. “The ties with Chapman’s Dodge College of Film and Media Arts and the art and history departments will be very important.”
Brian Worley – general contractor/restoration expert
The Hilbert Museum was planning an expansion and was excited to accept the donation of the 40’x16′ mosaic mural by noted California artist Millard Sheets. Brian Worley, owner and president, Art and Restoration, Inc., recalls the project start and collaborating with RLA, a team of professionally-trained conservators and artisans specializing in the care of sculpture, historic architecture, and artifacts.
“The crates were delivered to [The Hilbert Museum] storage facility and two years later, we started planning for the steps necessary to reinstall the mural. RLA and I were able to get into contract and start coordinating with the general contractor as to our window and requirements for installation towards the end of their project. I had projected six months of time to prepare the sections at an off-site location and two plus months for installation. I was lucky enough to find a large former theater space for the layout and preparation of the sections,” stated Worley.
Mural preparation and removal
Installation of a protective mesh bonded with a water-soluble adhesive by RLA was used to preserve mosaic pieces during removal, transportation and re-installation.
“We started by test drilling several spots to confirm thickness of the mortar bed behind the mosaic,” recalled Worley. “We were delighted to find the thickness was plus or minus three inches. I then secured a contract with Concrete Coring, Inc. to do the removal utilizing hydraulic, diamond-bladed wet chain saws. My company was responsible for arranging all site requirements, permits, crates, etc.”
Considerations prior to the start of the removal process were to confirm that the backing mortar bed was at least the assumed 1.5″ thickness, and to find the right subcontractor with the proper equipment for the removal. The removal method was determined after the team realized that they could not use a wall saw because they couldn’t secure the rail to guide it. This meant that the thickness of the sections would not be uniform and would require the intermediate step to ensure the pieces would be flat for reinstallation.
Problems encountered during removal were relatively minimal. Some tile broke away from the edges of sections and the sections themselves were cracking and splitting in areas. The applied mesh helped hold the sections together.
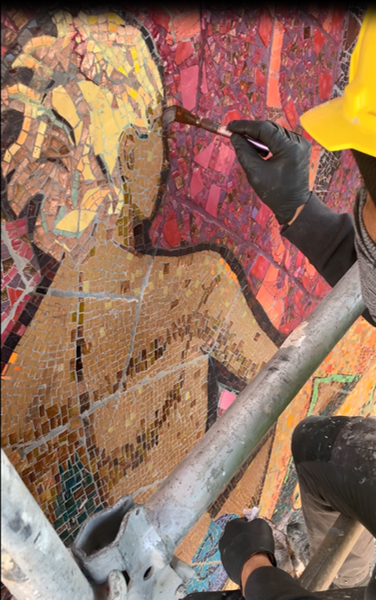
Mural repairing and preparing
Loose pieces and cracks were repaired with an epoxy adhesive while individual pieces that were not repairable were saved for reinstallation. Amazingly, Worley also had left-over inventory from the original installation that was used for the re-installation process. The team applied (screeding) mortar onto the back of each section so that the finished surface of the mural would be flat.
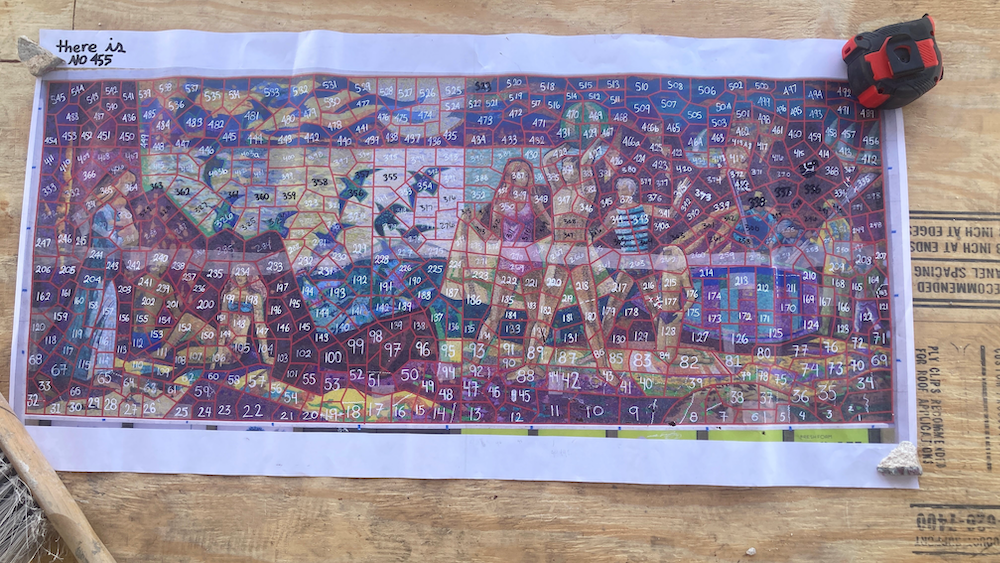
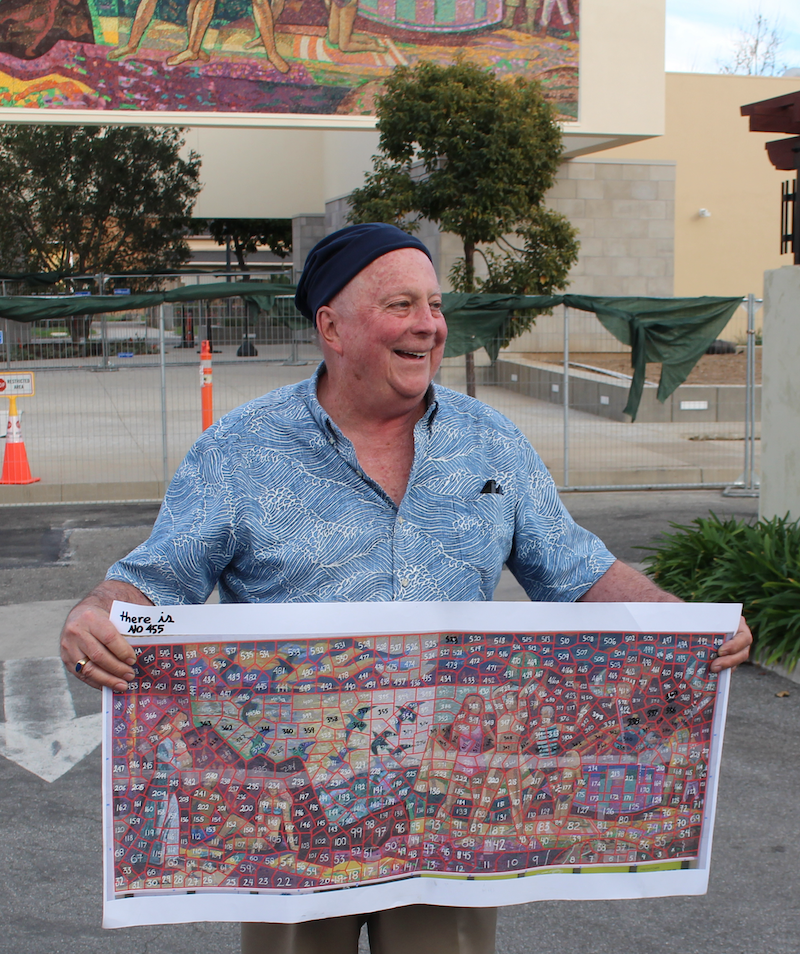
Mural mapping and transport

Mosaic sections were labeled during removal, carefully packaged and crated in relevant sections for transport, storage and eventually used for staging during re-installation. The mural filled six crates, with 547 sections that had been mapped and tagged.
CUSTOM products star in mural re-installation
The year prior to the reinstallation, there were many discussions with the architect and engineers to develop the proper wall and backing for proper application of the mosaic sections. During the repair/preparation process prior to installation, each of the mosaic sections was built out to a uniform thickness of 1.75 inches. This thickness was then the basis for calculating load and any other considerations. The team needed to develop a structure to carry the load of the mosaic on a waterproof wall with a backing substrate and a proper thin-set mortar for application of the sections. In the end, the specification created a waterproof wall to which galvanized hat channel was applied and all connections sealed. A suitable cement backer board was to be screwed to the galvanized channel.
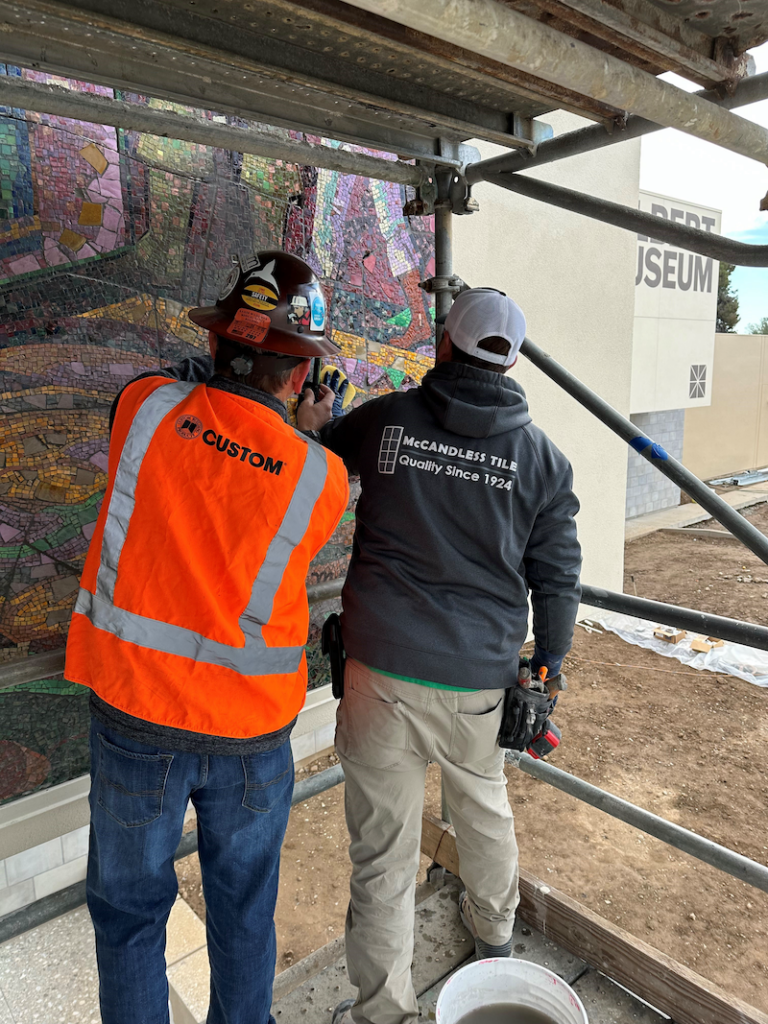
Charles McCandless Tile was recommended to Brian Worley by industry professionals to do the re-installation of the mural.
Mark McCandless, President of NTCA Member Charles McCandless Tile Contractors, chose to work with Custom Building Products as the selected installation system, based on his trust of CUSTOM® systems and their strong technical support, which helped determine product specifications.
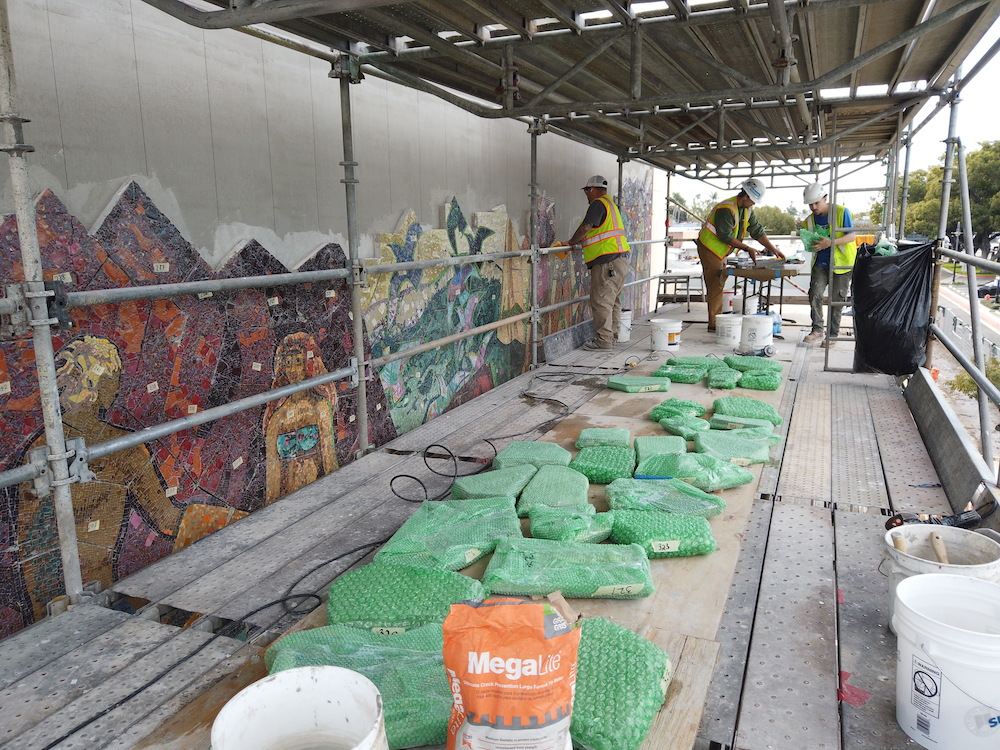
The team specified RedGard® Waterproofing and Crack Prevention Membrane to ensure the assembly was protected. A superior bonding mortar was required for the heavy mosaic sections that could also be used in variable thickness and sustain thermal cycling from a western facing veneer. Based on this, MegaLite® Ultimate Crack Prevention Large Format Tile Mortar was specified. To ensure color consistency, Prism® Ultimate Performance Cement Grout was specified and last, Commercial 100% Silicone Sealant was used around the perimeter to color match and provide movement accommodations.
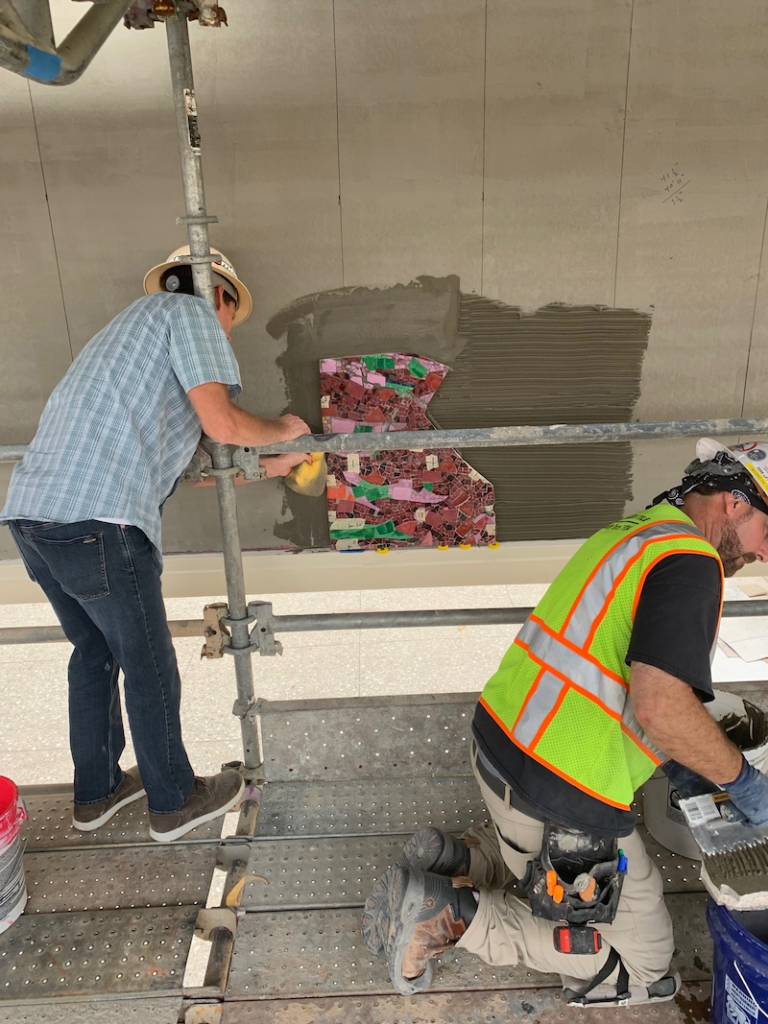
Through a scheduled project pre-inspection prior to start of the installation, the cement backer board substrate was determined to have incurred construction related damages that required repair and some replacement before McCandless Tile could begin.
The McCandless team worked diligently laying out sections and ensuring proper installation techniques to ensure the mosaic sections’ surfaces were installed flat to one another and they often needed to remove and reset sections.
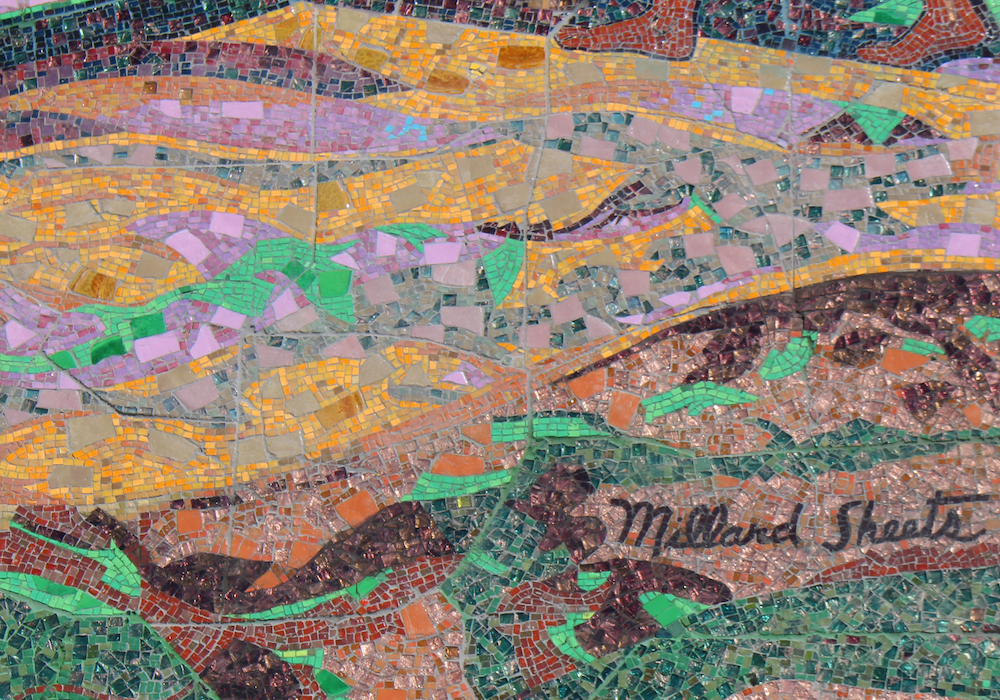
Success was achieved by all companies working togther for the restoration and reinstallation of this historical preservation of Millard Sheets’ “Pleasures Along the Beach” mosaic mural.
Many thanks to the Hilberts, Mark McCandless and especially Brian Worley for sharing their experience on this historic project.
Never miss a story — sign up for TileLetter Pro Angle to stay up-to-date on the best of what TileLetter has to offer, from technical articles and case studies to breaking news and the latest industry products!


Will White
Will White CTC/CMT/FCT/ISSI, is the Channel Marketing Director of Technical Support at CUSTOM Building Products. He is an avid supporter of training, improvement and development for the tile and stone industry. He is a member of Tile Council of North America (TCNA), National Tile Contractors Association (NTCA), Materials & Methods Standards Association (MMSA) and American National Standards (ANSI) Committee.


